


The Ultimate Guide to Vaping for Heavy Smokers
Switching from smoking to vaping can seem overwhelming, especially for heavy smokers used to the sensation of cigarettes. In this comprehensive guide, we’ll cover everything from how vaping works to the best devices for heavy smokers, and how to pair them with the right e-liquids. Whether you’re trying to quit smoking or reduce your tobacco intake, this guide will help make the transition easier by offering simple explanations and detailed advice.
Why Vaping is a Healthier Choice for Heavy Smokers
Smoking cigarettes delivers thousands of harmful chemicals into your body, including tar, carbon monoxide, and many other carcinogens. Vaping, on the other hand, involves heating an e-liquid that typically contains just four main ingredients: propylene glycol (PG), vegetable glycerin (VG), nicotine, and flavourings.
By switching to vaping, heavy smokers can reduce their exposure to the toxic substances found in cigarettes. Vaping mimics the sensation of smoking, delivering nicotine without combustion, which makes it significantly less harmful than traditional smoking.

Powers the device and heats the coil.

A metal wire wrapped in cotton, the coil heats the e-liquid into vapour when activated.

The liquid you inhale. It contains PG, VG, nicotine, and flavours.

Holds the e-liquid. In pod systems, it’s often disposable or refillable.

The part you inhale through, similar to the filter on a cigarette.

If you're a heavy smoker, it's important to choose a vaping device that delivers a nicotine hit similar to cigarettes while offering a smooth experience. Here’s what to look for:
- Nicotine Strength: Smokers need higher nicotine levels to satisfy their cravings. Opt for e-liquids that offer 12mg to 20mg of nicotine (or higher in salt nicotine).
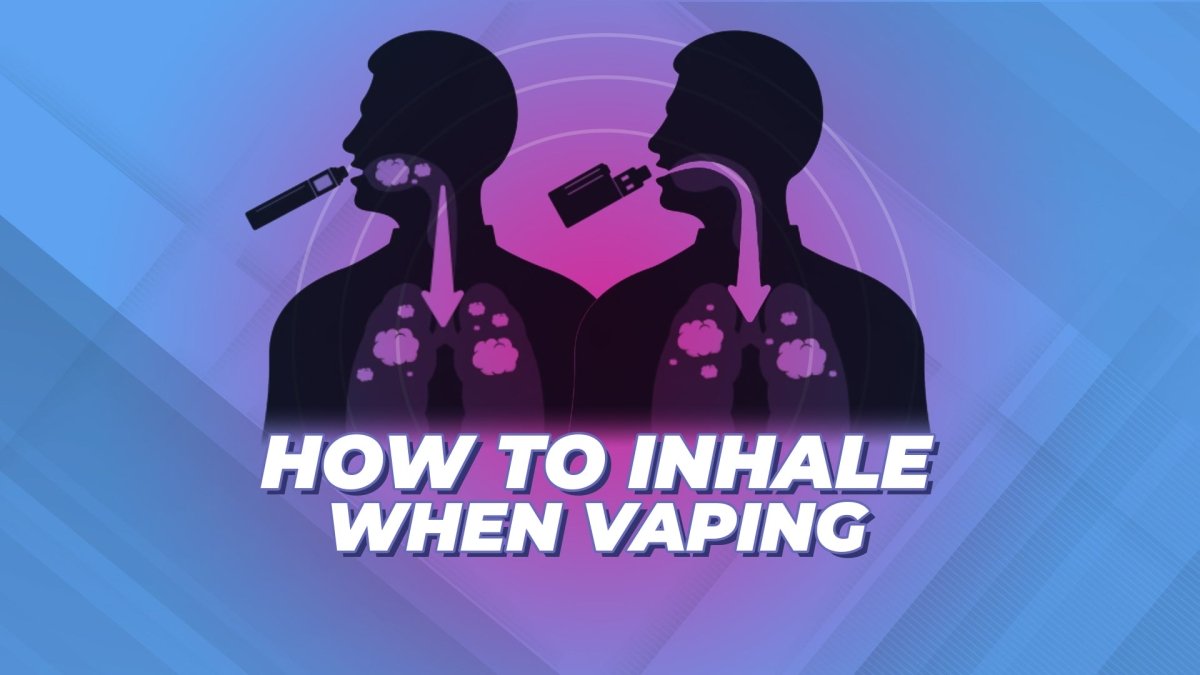
- Vaping Style (MTL vs. DTL): MTL (mouth-to-lung) vaping mimics the inhale style of smoking and is ideal for heavy smokers transitioning to vaping. DTL (direct-to-lung) provides bigger clouds and stronger hits, but may be too intense for new users.
- Battery Life: Look for devices with long-lasting batteries so you don’t run out during the day.
- Ease of Use: Button-activated or inhale-activated devices are usually the simplest for beginners.
1. Innokin Endura T18e Kit: Ideal for Beginners

The Innokin Endura T18e is a perfect entry-level vape for heavy smokers. Designed for ease of use, this kit provides a cigarette-like inhale, replicating the mouth-to-lung style that most smokers are used to. Its simple design, combined with a one-button operation, makes it a great fit for those who don’t want to deal with complicated setups.
Why it’s great for heavy smokers:
• Provides a similar sensation to smoking, with a tighter draw and a strong throat hit.
• Compact and easy to use, perfect for beginners.
• 1000mAh battery lasts all day, even with frequent use.
E-liquid pairing:
Pair this kit with Cigara Originals Starter Liquids. These e-liquids are available in higher nicotine strengths (12mg or 18mg), ideal for heavy smokers who need a strong nicotine hit. The balanced PG/VG ratio ensures you’ll get a satisfying throat hit without overwhelming vapour.

2. SMOK Novo 4 Pod Kit: Compact and Customizable
The SMOK Novo 4 offers the perfect balance between portability and customization. It’s small enough to carry in your pocket, and the adjustable airflow feature allows you to fine-tune your vaping experience. This device works well for smokers who want flexibility, as it can switch between MTL and a more open draw, providing the best of both worlds.
Why it’s great for heavy smokers:
• Compact and lightweight design, perfect for on-the-go use.
• Adjustable airflow allows you to change the tightness of the inhale, giving a more personalized experience.
• Inhale-activated, so it feels like smoking a cigarette without needing to press a button.
E-liquid pairing:
Use Cigara Salt Bar Nicotine Salts with this device. Nicotine salts offer a smoother throat hit and quicker nicotine absorption, which is ideal for heavy smokers who want immediate satisfaction. The Novo 4’s pod system is perfect for these higher nicotine liquids, giving a more intense experience without the harshness.
3. SMOK R-Kiss 2 200W Kit: Power and Performance

For heavy smokers looking for more power, the SMOK R-Kiss 2 is an advanced device that provides a stronger, more direct vaping experience. With up to 200W of output, this kit is ideal for direct-to-lung vapers who want big clouds and an intense nicotine hit. The dual 18650 batteries ensure all-day use without constant recharging.
Why it’s great for heavy smokers:
• Dual battery setup provides long-lasting performance and higher power output.
• Large wattage range allows for tailored experiences—perfect for experimenting with both MTL and DTL vaping.
• Ideal for those who want to move beyond simple vape pens and experience fuller flavour and vapour production.
E-liquid pairing:
Go for Dinner Lady Shortfills with this device. High-VG shortfills work great with high-power devices like the R-Kiss 2, providing dense clouds and intense flavour. You can also add nicotine shots to these e-liquids to get the desired strength, making it perfect for heavy smokers transitioning to more powerful vaping devices.

4. Vaporesso XROS 3 Pod Kit: Sleek and Stylish
The Vaporesso XROS 3 is an elegant, easy-to-use device that works well for heavy smokers who prefer something portable but powerful. The adjustable airflow and mesh coil ensure great flavour and a smooth inhale, making it ideal for those who prefer a medium nicotine hit without compromising on flavour.
Why it’s great for heavy smokers:
• Sleek design and compact size make it convenient to carry.
• Easy to refill and replace pods, perfect for users who don’t want to fiddle with coils.
• The 1000mAh battery lasts throughout the day, even with frequent vaping.
E-liquid pairing:
For this device, Dinner Lady Nicotine Salts are a great match. Nicotine salts offer a smooth throat hit even at higher nicotine levels, making it a great option for heavy smokers who want a stronger, faster nicotine hit without the harshness of regular e-liquids.
5. GeekVape Aegis X 200W Kit: Rugged Durability

The GeekVape Aegis X is perfect for heavy smokers who need a device that can withstand a more active lifestyle. Its shockproof, waterproof, and dustproof design ensures it can handle whatever life throws at it, making it one of the most durable devices on the market. This kit is ideal for smokers who need a powerful device with high battery capacity and strong vapour production.
Why it’s great for heavy smokers:
• The rugged design ensures long-lasting use, making it perfect for those who want reliability.
• High-power output (200W) allows for a tailored vaping experience with strong vapour production and big clouds.
• Dual 18650 batteries offer a longer-lasting charge, ideal for all-day vaping.
E-liquid pairing:
Pair this with Bar Series Shortfills. These shortfills are perfect for DTL (direct-to-lung) vaping and offer high VG content for bigger clouds. Nicotine shots can be added to reach higher strengths, making it an excellent choice for heavy smokers looking to satisfy their cravings.

Understanding E-Liquids for Heavy Smokers
Choosing the right e-liquid is just as important as picking the right device. If you're a heavy smoker, the nicotine strength and type of e-liquid you choose can significantly impact your vaping experience. Here are the two main types of e-liquids to consider:
Nicotine Salt E-liquids
• Best for: Immediate nicotine satisfaction, smooth throat hits.
• Nicotine Strength: Typically 10mg to 20mg, but can go up to 50mg.
• Why it's good for heavy smokers: Nic salts provide a smoother hit even at higher nicotine levels, which is great for smokers used to strong cigarettes.
Freebase Nicotine E-liquids
• Best for: Strong throat hit, lower nicotine levels.
• Nicotine Strength: 3mg to 18mg.
• Why it's good for heavy smokers: Freebase nicotine provides a stronger throat hit, which is more similar to smoking regular cigarettes.
Shortfills E-liquids
• Best for: Customization and larger volumes.
• Nicotine Strength: Typically nicotine-free (0mg), but allows you to add nicotine shots to achieve your desired strength.
• Why it's good for heavy smokers: Shortfills come in larger bottles (usually 50ml or more) with space for adding nicotine shots. This allows heavy smokers to tailor their nicotine intake according to their needs. As you adjust your vaping habits, you can gradually reduce the amount of nicotine you add. The high VG content in most shortfills also means you’ll enjoy thick clouds and rich flavour, making the experience more satisfying.
When switching from smoking to vaping, heavy smokers should start with higher nicotine levels to satisfy their cravings. Over time, you may find that you can gradually reduce your nicotine intake as your body adjusts to vaping. Shortfills are an excellent option for those looking to manage their nicotine intake flexibly while still enjoying a satisfying vaping experience.
Common Questions About Vaping for Heavy Smokers
Q: How much nicotine should I start with?
If you’re a heavy smoker, you should start with e-liquids that contain at least 12mg of nicotine. If you prefer smoother hits, nicotine salts in the 20mg range are ideal.
Q: Can vaping help me quit smoking?
Absolutely. Many heavy smokers successfully transition to vaping as a way to reduce their nicotine intake over time or quit smoking altogether.
Wrapping It Up : Find the Perfect Vape for Heavy Smoking
Switching from smoking to vaping can be a game-changer for your health. By choosing the right device and e-liquids tailored for heavy smokers, you can make the transition smoother and more satisfying.
Whether you’re looking for something simple like the Innokin Endura T18e or a more advanced kit like the SMOK R-Kiss 2, there’s a vape out there that’s perfect for you.
However, it's important to recognize that quitting smoking and starting vaping is not a perfect journey for everyone. Many individuals may need to experiment with various e-liquids, brands, flavours, and coils to discover what works best for them. If your initial attempts don’t go as planned, don’t be discouraged.
Each person’s experience is unique, and it may take some trial and error to find the right combination of products that satisfies your cravings and enhances your vaping experience.
Remember, persistence is key—if you don’t succeed the first time, keep exploring different devices and e-liquids until you find what’s right for you.
perfect for you.

Jemma Wolfe
Lead Content Writer @myCigara
I'm Jemma, a writer and ex-smoker with a passion for vaping. Since ditching the cigs over a year ago, I've used a whole host of vaping products to help me stay smoke-free and live a healthier lifestyle.
Now, my goal is to help others along their quit smoking journey by writing expert reviews and providing vaping guidance. When I’m not writing, you can find me curled up with a good book, hanging out with my cats or watching live music.